I have been wanting to build a bench for a while now and I thought it would be a great first project to document on this blog. The particular bench I’m building is simple enough to not be intimidating, yet complex enough for me to learn a lot of woodworking fundamentals throughout the process.
I started by drawing my design in SketchUp to make sure it looks good and all the dimensions make sense. I used the free web version of SketchUp and it didn’t take long to pick up the basics. After a couple hours, I had a design that looked like this:
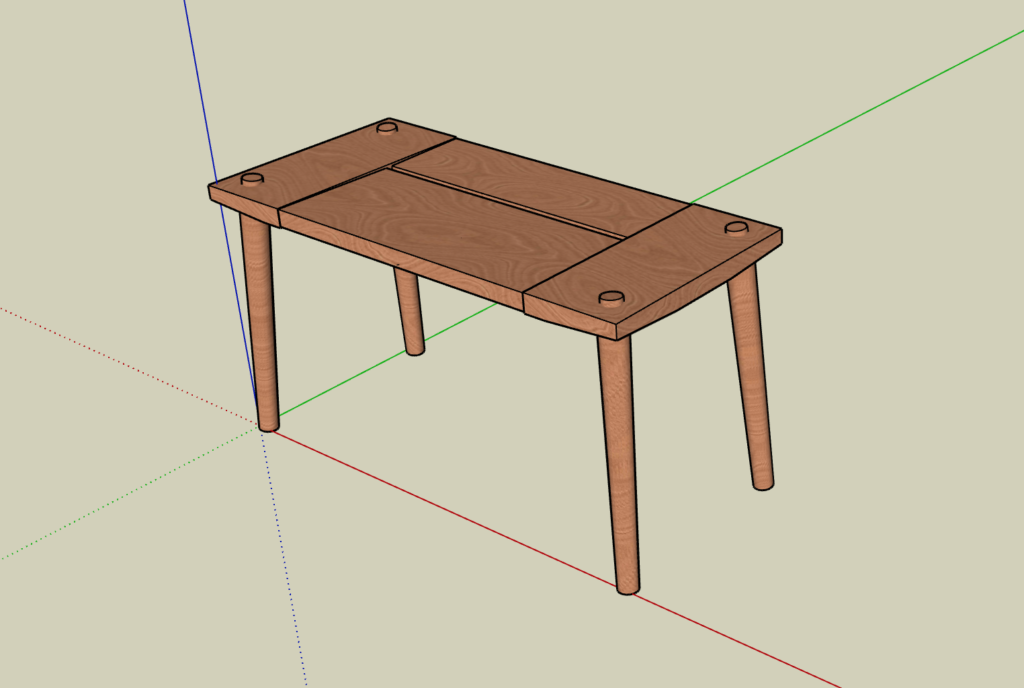
The two middle slats are attached to the sides by mortise and tenon joints and the four legs are attached by split tenons. The legs are round, tapered, and slightly angled – a subtly mid-century look I think. I will go through what all these joints are later in the project so if you don’t know what they are now, don’t worry!
I decided to build the bench out of cherry. I’ve never worked with cherry before but I think the color would look good for this bench and, from what I’ve read, cherry is a very pleasant wood to work with. A trip to the hardwood store gave me this piece of lumber, 8 1/2″ wide and 78″ long – just enough for the bench.
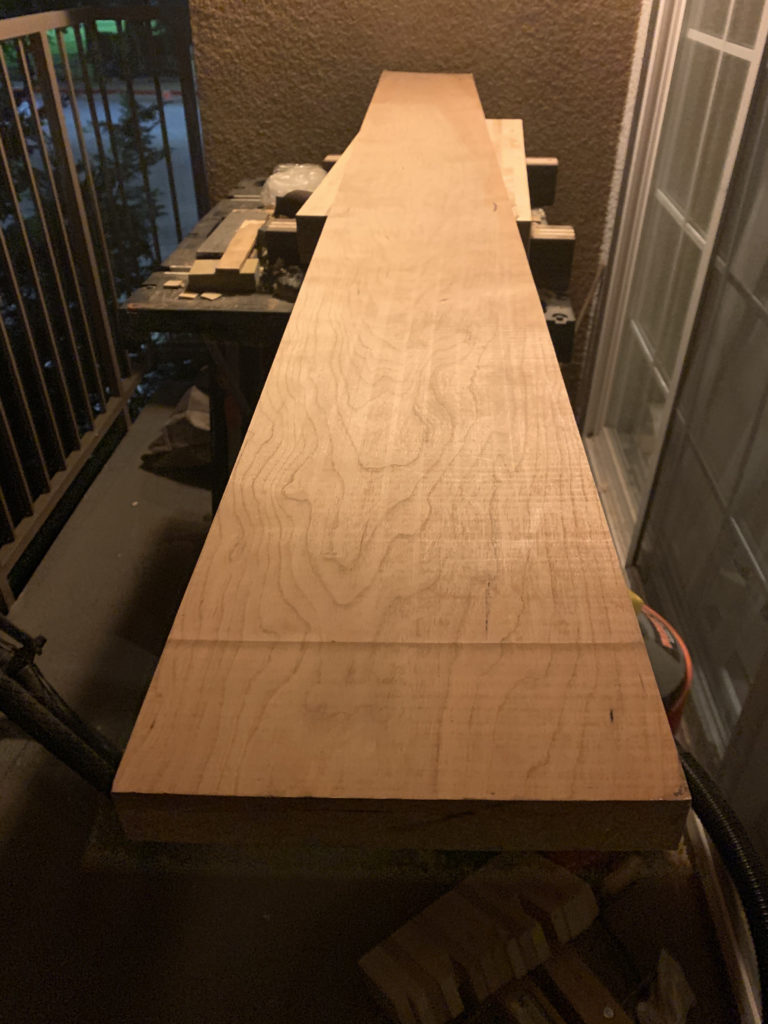
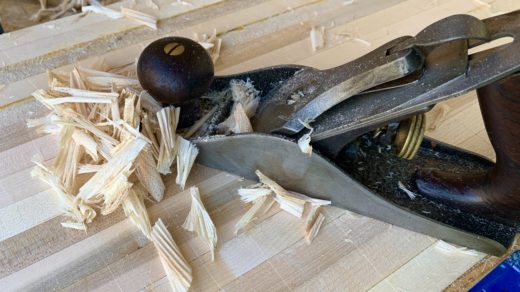
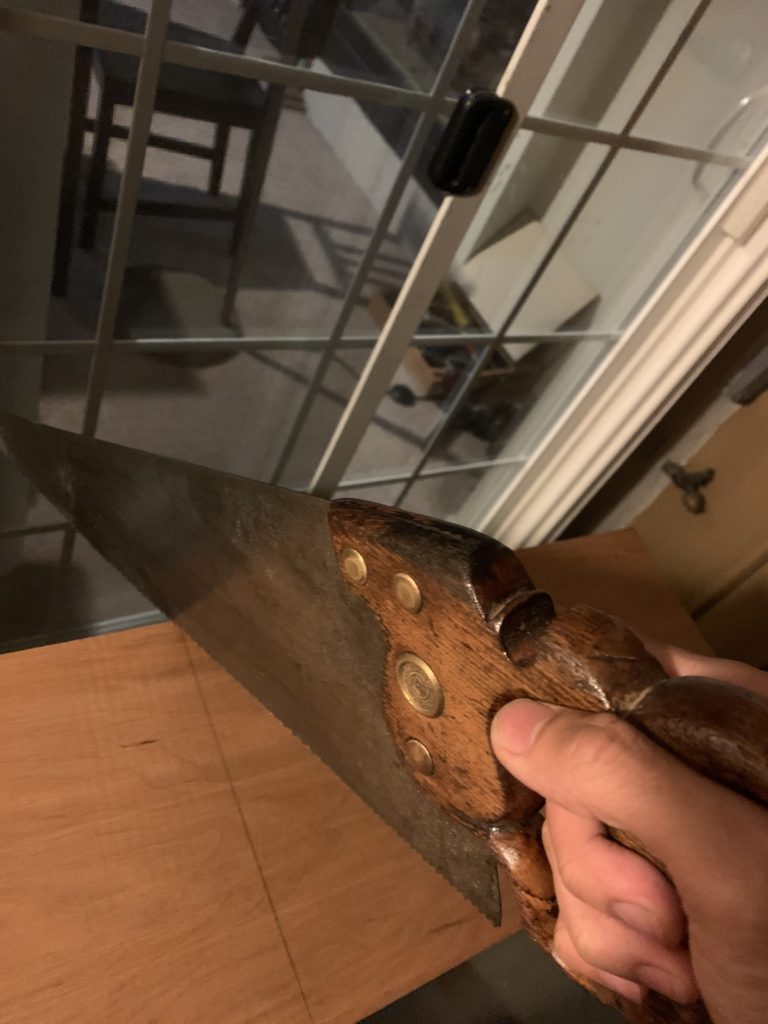
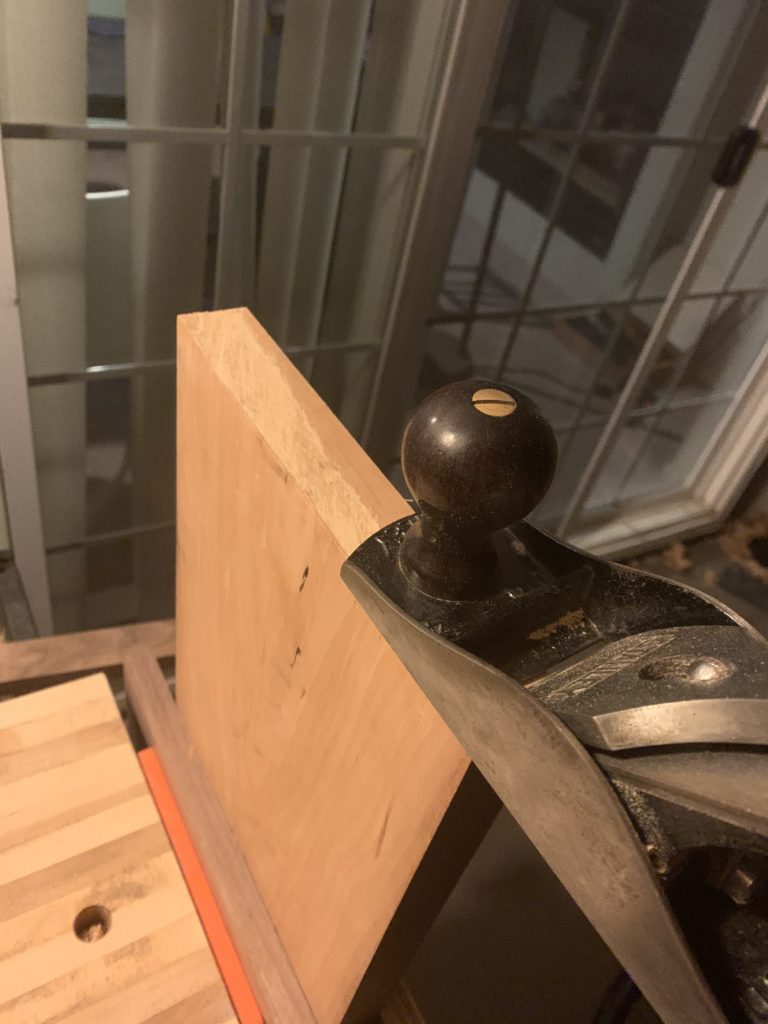
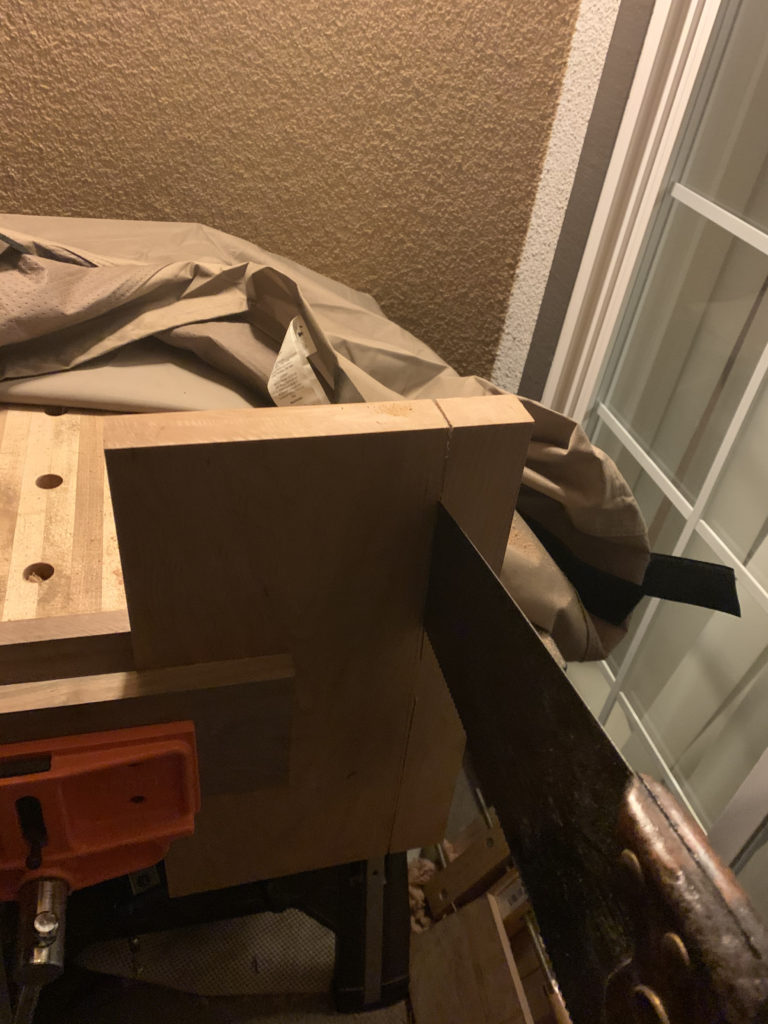
You can see that there are still rough plane marks left from the milling process. Next I cut two 15″ long pieces for the sides using my rip saw.
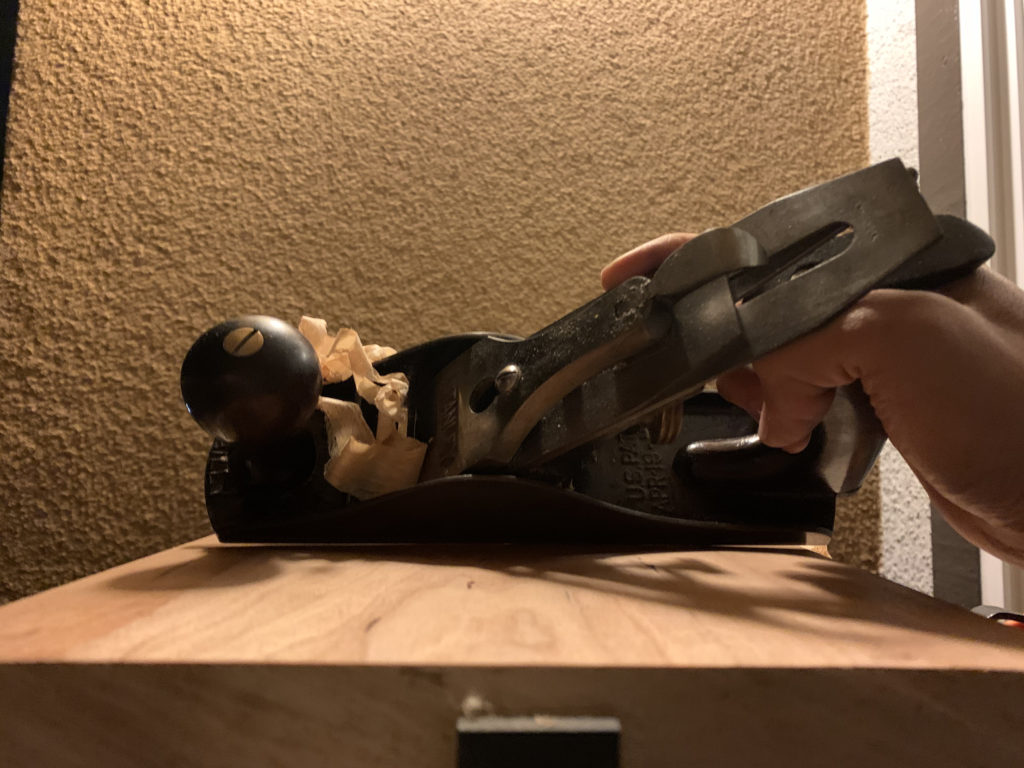
As expected, the wood is not perfectly flat straight from the hardwood store and will need to be dimensioned. The particular board I got was pretty significantly “cupped”, meaning that one face was convex and the other face was concave. There are a lot of videos online explaining how to dimension wood by hand so I will not go into too much detail in this post. The general gist is:
- Flatten one side. This becomes the reference side.
- Make one edge square to that side. This becomes the reference edge.
- Cut the piece to width.
- Flatten the remaining face and edge so that they are square with the reference side and edge.
I have to admit that dimensioning stock by hand can be quite time consuming and tiring. If possible, I would recommend getting your lumber supplier to mill the wood to the sizes you want (or at least close to it) so that you can spend most of your time on the fun stuff. It is a good learning experience though. And good exercise.
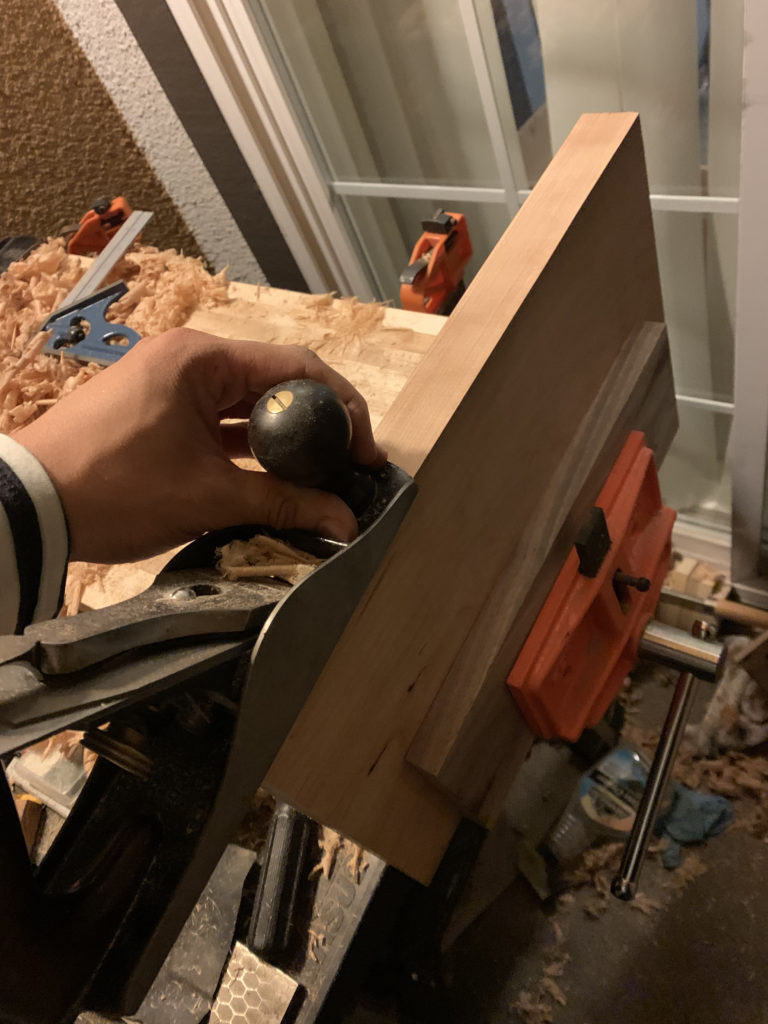
After a lot of wood shavings, I have four pieces of wood that are dead square and the correct dimensions.
Until next time…